1. Creating New Rails Application
The ruby version we will be using here is 2.7.1 and rails 6.0.3.2. Check yours by using ruby -v and rails -v. Lets create a new rails application.
$ rails new react-rails-crud-app --database postgresql --skip-test --webpack=react
-
Here --database postgresql signifies that we are using postgresql as database. You can do -d=postgresql as well.
-
--skip test flag will tell the rails not to generate the rails default test files. You can also do -T.
-
--webpack , since rails 5.1 it has supported the Single Page Application frameworks such as React, Angular and Vue.js. While creating a rails app it installs a webpacker gem by default. This gem leverage the use of Webpack to manage JavaScript modules within rails application.
By creating a rails application using above method we will have all the required dependencies installed. If we now go to our text editor and look at the project folder , and inside app javascript/packs we can find two files application.js and hello_react.jxs.
2. Setup Robocop gem
As a linter lets use the well known rubocop.
gem 'rubocop', '~> 0.88.0', require: false
After this bundle install. Lets auto correct the initial boilerplate generated by rails by using
$ bundle exec rubocop --auto-correct
You can add the available rubocop extensions in your code editor as well.
3. Setup Database
Before setting up our database lets add the gem 'dotenv-rails' in the gemfile and do bundle install. Then create a .env file in our root folder and add this into our .gitignore. Now lets write our postgresql database URL in the .env file.
.env

POSTGRES_URL_DEVELOPMENT='postgresql://username:password@localhost/name_of_our_db_development'
POSTGRES_URL_TEST='postgresql://username:password@localhost/name_of_our_db_test'
Then we can edit our database.yml file and link the url of the database from the .env file like this
default: &default
  adapter: postgresql
  encoding: unicode
  pool: <%= ENV.fetch("RAILS_MAX_THREADS") { 5 } %>

development:
  <<: *default
  url: <%= ENV['POSTGRES_URL_DEVELOPMENT']%>

test:
  <<: *default
  url: <%= ENV['POSTGRES_URL_TEST']%>
Finally, let’s create the database using rake db:create
4. Setup Rspec for testing
Initially we skipped the default test of rails but its always better to follow TDD approach. So, lets go ahead and install the rspec-rails gem.
gem 'rspec-rails', '~> 4.0.1'
gem 'factory_bot_rails'
Here FactoryBot gem helps us to create our own test data.
Also we configure the FactoryBot to be used with Rspec by default, for this just go to rails_helper.rb file and inside RSpec.configure do |config| add this
config.include FactoryBot::Syntax::Methods
Lets hit bundle install and then rails generate rspec:install to create configurations files for rspec setup.
$ rails generate rspec:install
Running via Spring preloader in process 2564
      create  .rspec
      create  spec
      create  spec/spec_helper.rb
      create  spec/rails_helper.rb
Great 
 we are done with creating our React on Rails 6 app.
5. Adding Bootstrap
If we need to add bootstrap in our application we can now install it as a dependency so that we can use it in both the .erb files and react components as well.
$ yarn add bootstrap jquery popper.js
Lets open our app/javascript/packs/application.js and require bootstrap too.
application.js

require("@rails/ujs").start()
require("turbolinks").start()
require("@rails/activestorage").start()
require("channels")
require('bootstrap')
import 'bootstrap/dist/css/bootstrap'
6. Hello World
Since we have setup our react on rails app, lets go ahead and create our first component that prints Hello World in our rails app.
First lets create our “homepage” controller
$ rails g controller homepage index
Now lets go to our text-editor and edit the routes.rb file to set the root path to the index action of our homepage controller.
routes.rb

Rails.application.routes.draw do
  root to: 'homepage#index'
end
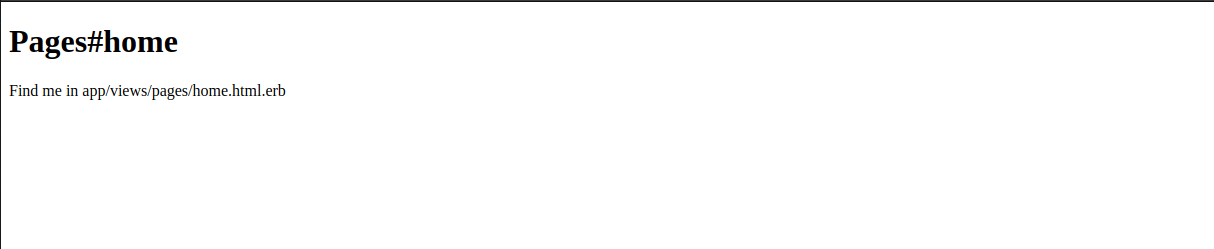
Now if we start our server with rails s we will see webpacker compiling in the console and if we goto localhost:3000 in the browser we will see this
Lets create a directory as components inside the javaScript folder of our project and add an App.js file. And inside the App.js file lets add our react code.
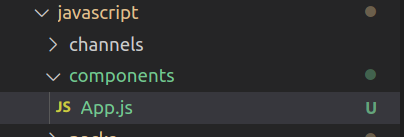
App.js

import React, {Component} from 'react'

class App extends Component{
  render(){
    return(
      <h1>Hello World</h1>
    )
  }
}

export default App;
In the hello_react.jsx lets edit the default code and paste this
hello_react.jsx

// Run this example by adding <%= javascript_pack_tag 'hello_react' %> to the head of your layout file,
// like app/views/layouts/application.html.erb. All it does is render <div>Hello React</div> at the bottom
// of the page.

import React from 'react'
import ReactDOM from 'react-dom'
import App from "../components/App"

document.addEventListener('DOMContentLoaded', () => {
  ReactDOM.render(
    <App />,
    document.body.appendChild(document.createElement('div')),
  )
})
Lets do as told in the first line of hello_react.jsx i.e
// Run this example by adding <%= javascript_pack_tag ‘hello_react’ %> to the head of your layout file,
If we goto our views directory and inside pages there we will find home.html.erb, so lets edit this file as
home.html.erb

<%= javascript_pack_tag 'hello_react' %>
Now, if we go to the browser and reload the page we will see Hello World there .
Greate job!!! , we just created a react on rails 6 application.
Please feel free to give your feedback on the comment section below or ping me at or . Have a great time 